Adobe Illustrator Files
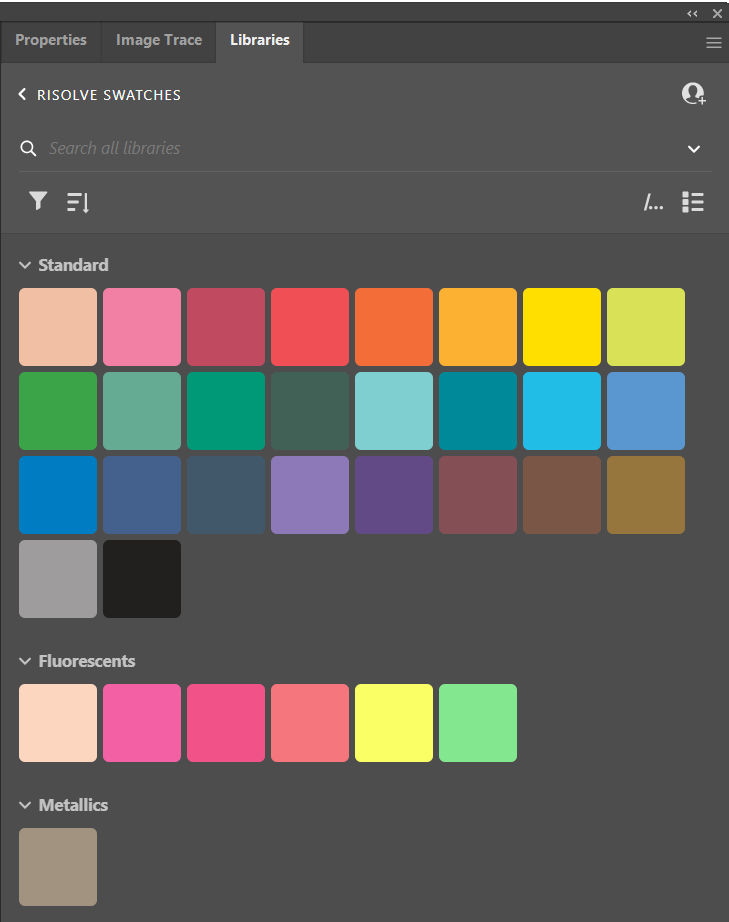
Step 1. Download our Risolve Ink Color Swatches to your Adobe CC Library for an easy way to access all of our available spot colors. Instructions and download link on this page.

Step 2. If your artwork is full bleed (extends to the edges of the trim area) please be sure to include a bleed margin with your artwork extending into it by going to File > Document Setup and adding .125" of bleed around each edge.

Step 3. Make sure that your Adobe Illustrator file is set to CMYK Color to preserve your spot color information by selecting File > Document Color Mode > CMYK Color

Step 4. Create your artwork and set all objects on your art board to our spot colors using the swatches from Risolve Ink Color Swatch Library or creating your own spot color swatches using the list of inks on this page.

Step 5. Check to make sure that everything is set to spot colors by opening the Separations Preview menu. Go to Window > Separations Preview.

In Separations Preview, check the "Overprint Preview" box. Now you can turn on and off your different spot colors. If any objects remain under CMYK, they must be set to a spot color instead.

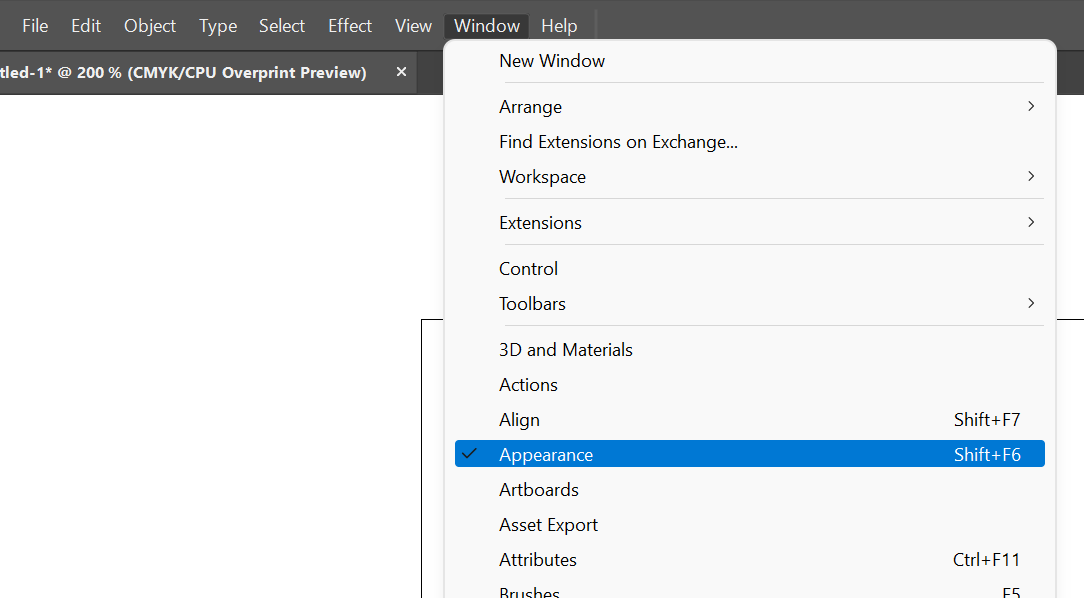
Step 6. If you would like your objects to overprint rather than knock-out, you can set the opacity blending mode to "Multiply". Go to Window > Appearance to pull up the Appearance menu.

Select the object you would like to overprint. In the Appearance panel select "Opacity" to pull up the Blending Mode options. Then select "Multiply" as your blending mode.

Step 7. When you are ready to save your artwork for print, go to File > Save As a PDF following the PDF export guides on this page. When exporting your PDF make sure that "Preserve Illustrator Editing Capabilities" is checked.
